Hi Clones,
[tl;dr] Go to chat.cloyne.org and set up your Cloyne Rocket.chat account. You can log in with Facebook or Google, or create an account with username and password. There’s an iOS app and and Android app, or you can just run it in your phone’s web browser.
A couple of weeks ago Ellie, your network manager sent out an email announcement about Rocket.chat.
Why?
Because we are collectively trying to move from email to a chat platform for the bulk of our house-wide communication.
Why?
In attempt to simplify our communication. Do you ever experience overwhelm with the volume of Cloyne list-serve emails in your inbox (or filtered inbox)? Do you get frustrated by one-liner back-and-forth discussions over email? Having a house chat room might alleviate some of these concerns.
What is rocket chat?
Rocket.chat is communication application similar to Slack. Members can create and contribute to “channels,” i.e. group discussions.

It is free and open-source, meaning the code for the entire application is available to anyone to make a copy for themselves and customize it. We have our application hosted on one of our servers.
How to get started?
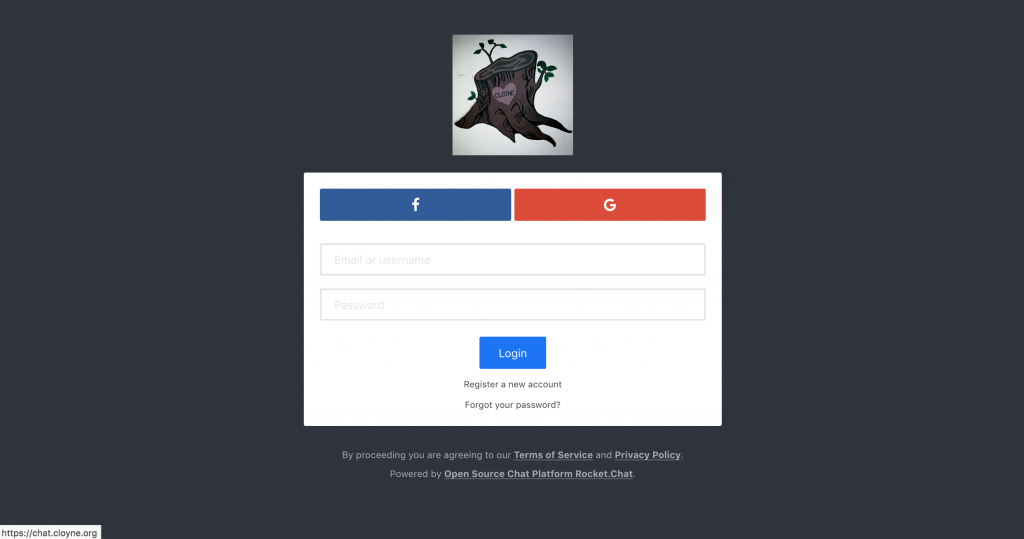
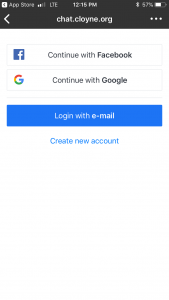
Go to https://chat.cloyne.org and click-on create an account.
From there, you can choose to log in with Facebook or Google, or create an account with username and password. Or go to your app store and download the app on your phone.
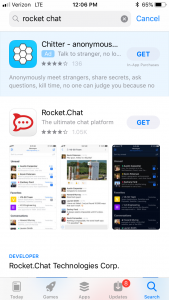
- Download and install the Rocket.Chat app on Android or iOS
- Open the app and select “Connect to a server”
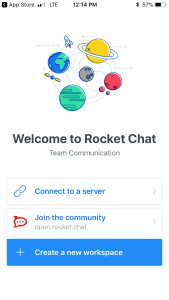
- Type “chat.cloyne.org” and tap “Connect”

- Select an option to log in. You must use the email address where you already receive cloyne.org emails. If you have trouble logging in, contact clonm@bsc.coop or closoft@bsc.coop.
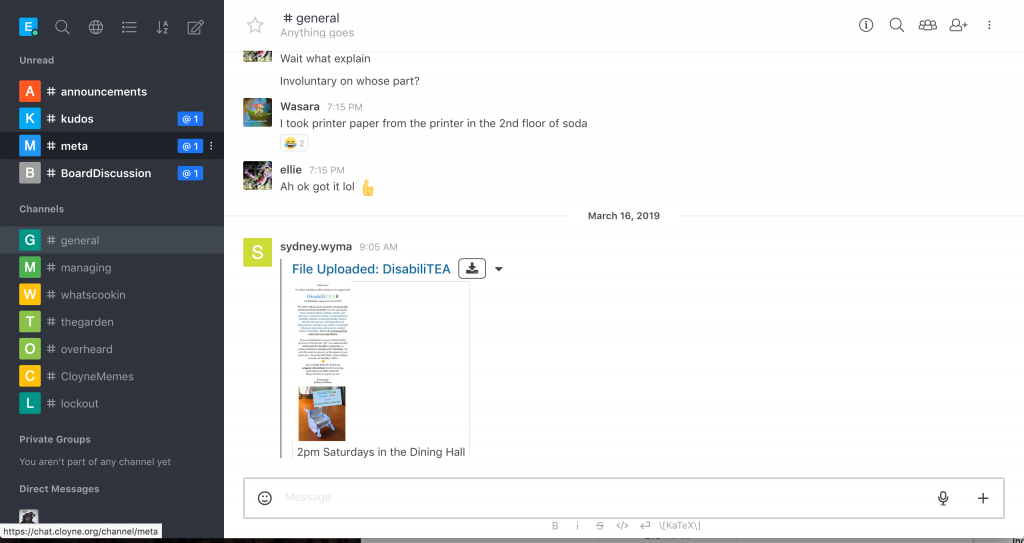
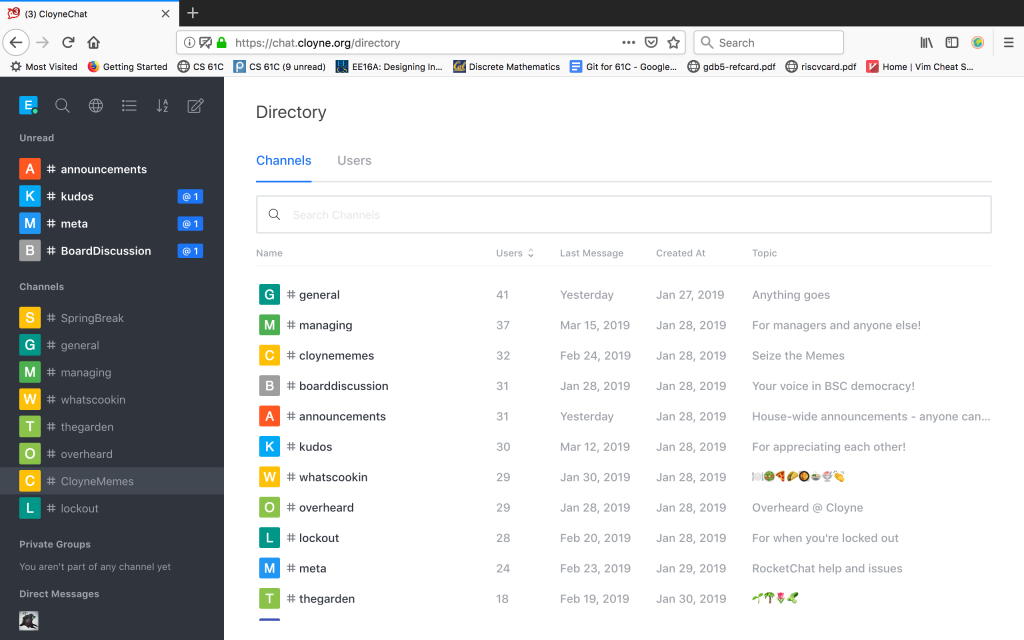
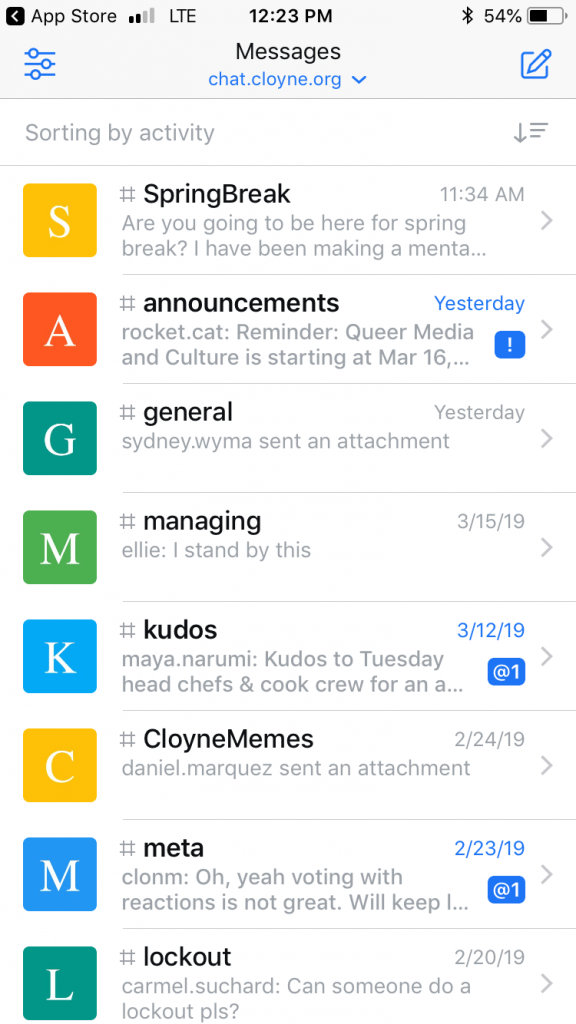
Viewing and Joining Channels
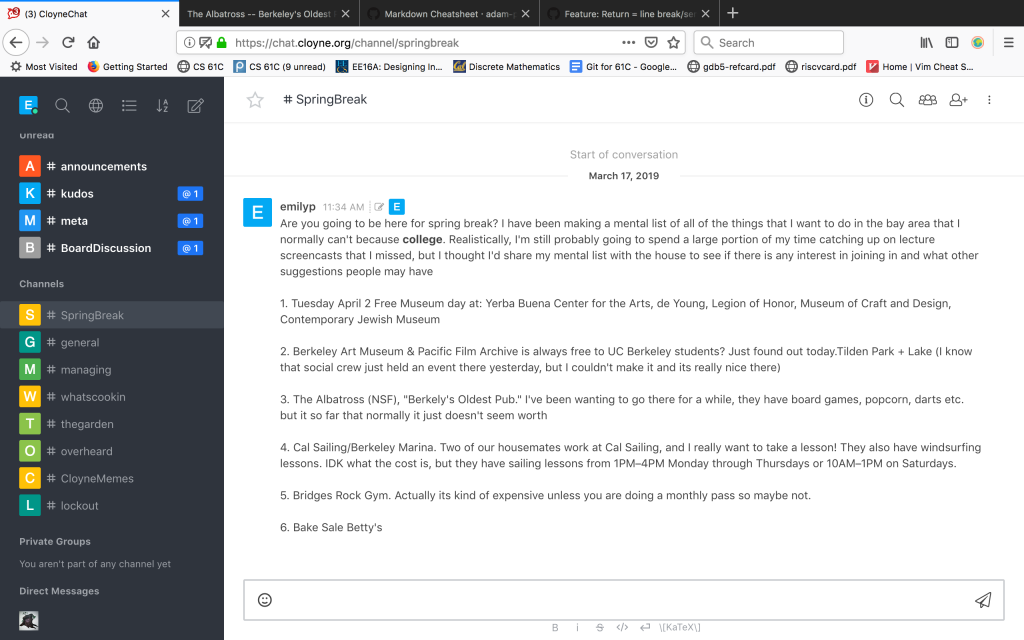
Once logged in, on the left side-bar you have a list of existing channels. To see more, click on the directory button in the top left .

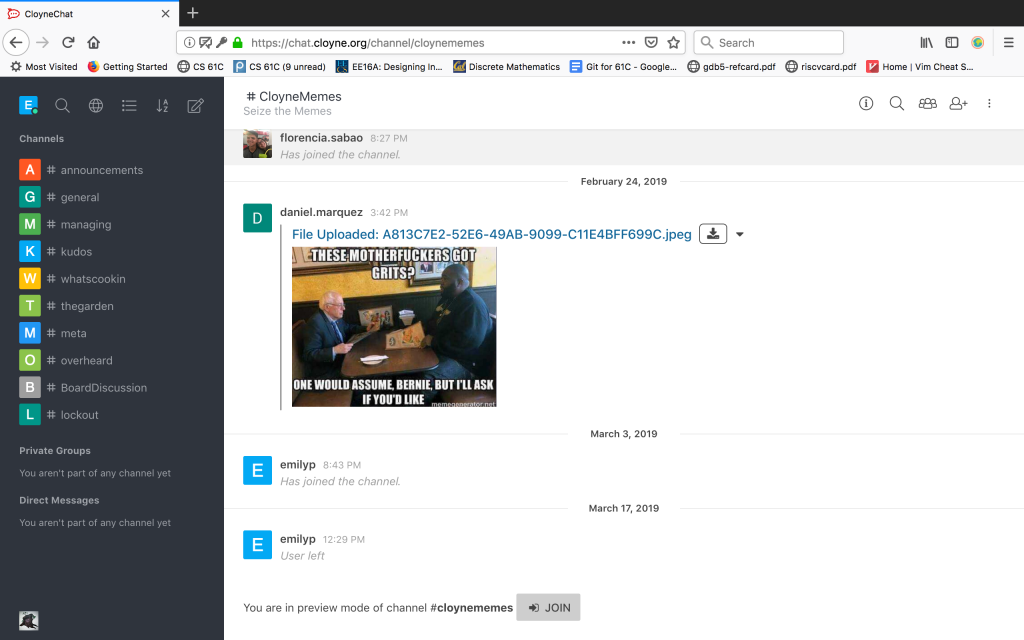
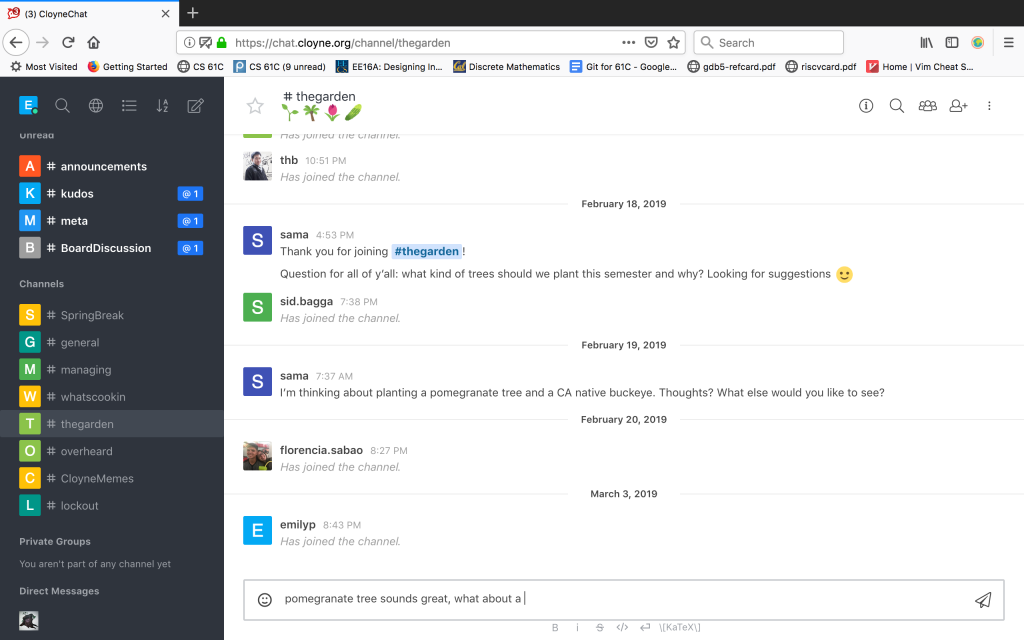
You can view a channel by clicking on it, but in order to chime in you need to explicitly join, by clicking on the box at the bottom of the page
Once you have joined, write your message in the dialog box
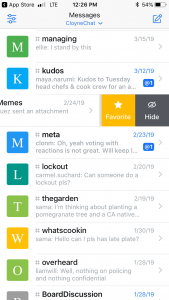
You can also leave and/or hide a channel, by hovering over it in the side bar on clicking on the three white dots.
On your phone, the process depends on the platform your using, but the options of searching, joining, and hiding channels remain the same.
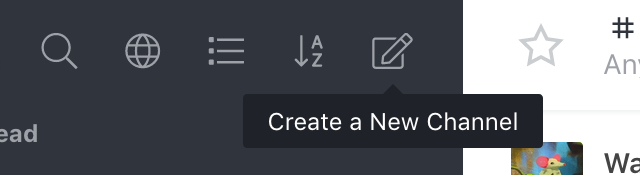
Creating a Channel and Sending a Lengthier Post
Click on the pencil and paper icon to create a new channel. There will be an identical icon if you are using your phone.
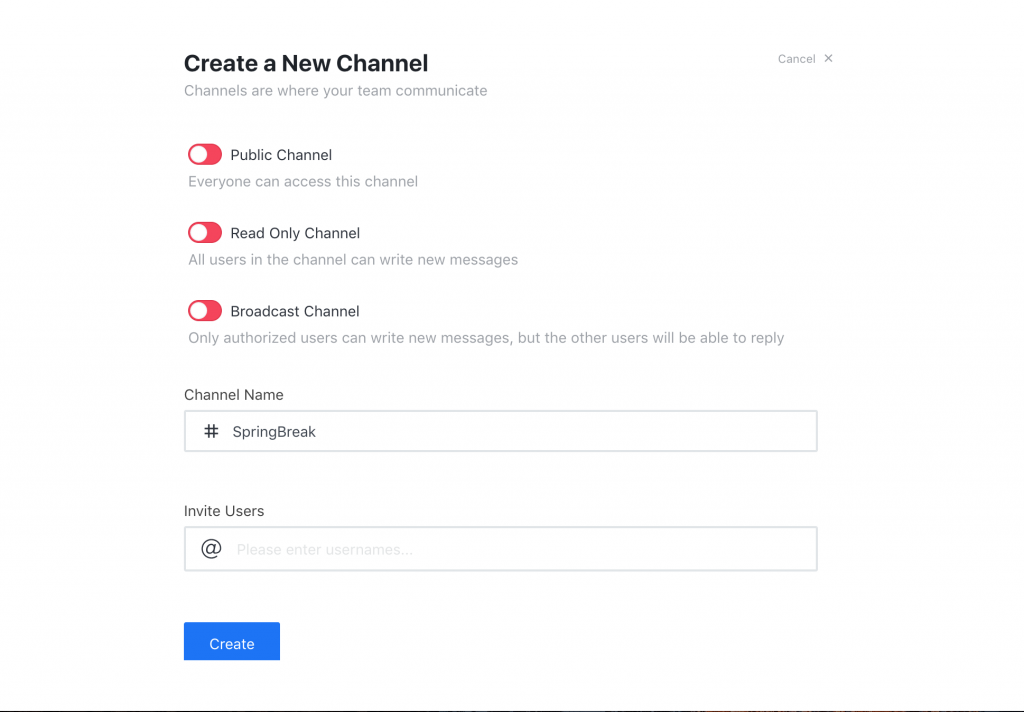
You can optionally make a private or public channel
If you make a post and realize that you made a mistake, (which I did several times) you can however over the message and three vertical dots will appear on the top right of the message, giving you options to edit, delete, pin, star, +more. Here is my post in edit mode:
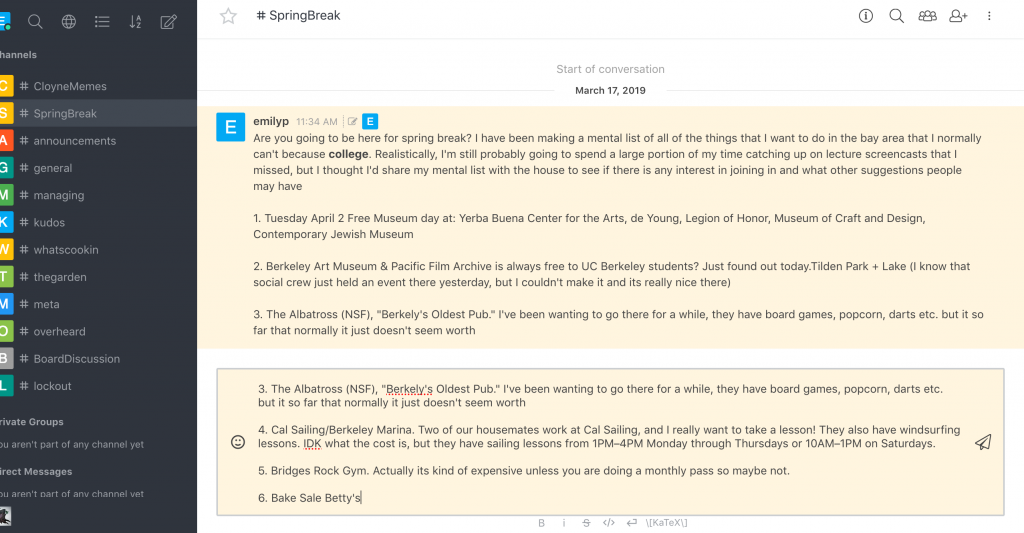
One important tip while writing from your desktop/laptop is to use SHIFT + RETURN/ENTER to create a new line. Simply pressing enter will send the message. (Though you can still edit the message after its been sent).
Done!
Notification Settings and Other
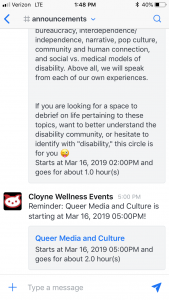
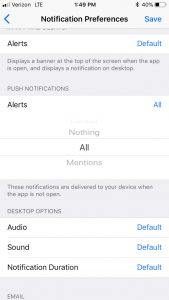
I actually don’t know what the current status is with desktop notifications, but mobile push notifications are available, and they will be set to default for each channel. Here is guide on how to change them, however the specifics will change base on your mobile platform:
- Click on the channel for which you would like to change your settings
- Clicking on the channel name at the top will bring up the following menu
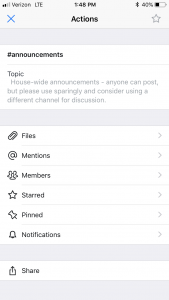
- Look for an option for Push Notifications
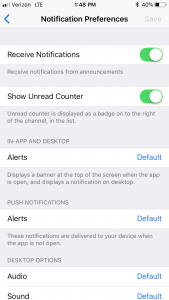
- Change to your preferred settings
One last tip is keyboard shortcuts for your desktop/laptop. By clicking on the vertical dots on the top right of the page, you have the drop-down menu option “Keyboard Shortcuts” which may save you some time.

There is a lot more to explore on your own, but hopefully this guide is enough to get started!